
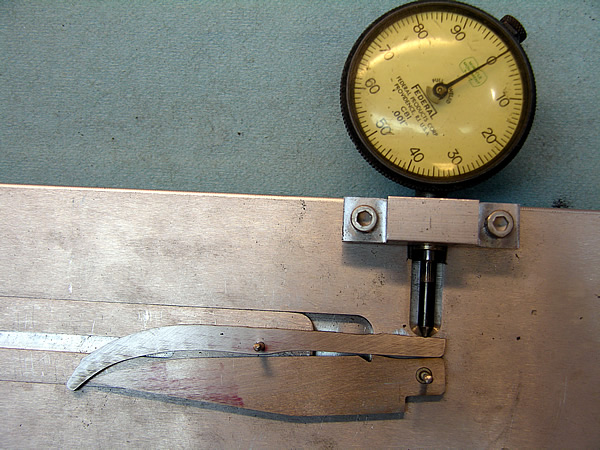
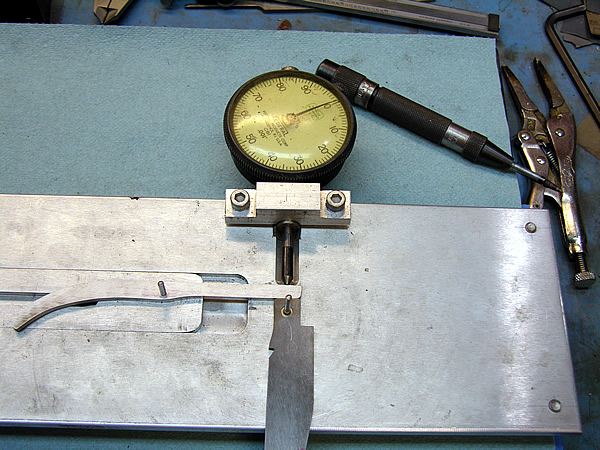
Here is the critical part of making a slipjoint. Getting all the parts to fit together. For this part, I use a rise and fall indicator as shown below. This improves the accuracy of the fit and will allow you to make more accurate adjustment. I made this rise and fall indicator from aluminum plate on a milling machine.
The purpose of the rise and fall indicator is to measure the position of the backspring as the blade is rotated from the open to the half stop to the closed positions. Ideally, you want each of these positions to be exactly the same.
You can also perform this step by mounting the blade and spring on a piece of wood and drawing a line on the outside of the spring.
The following illustration show the various parts of the tang.
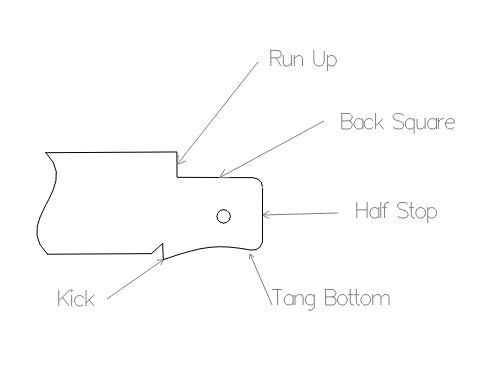
There are three dimensions that you have to fit in this step. The tang bottom, the back square and the half stop. The order that I fit them is first the tang bottom, then the back square and lastly the half stop.
The first step in this process is to grind the tang bottom to fit the blade to the backspring. The blade in the closed position should sit within the profile of the knife. You need to make sure there is space between the blade and spring. You do not want the blade to close and snap against the inside of the spring. Grind the “Kick” to lower the blade into the correct position. Keep in mind that you need to leave room for the finish. At this point, I finish the tang bottom to 600 Grit. Once the blade is in the desired position, set your indicator to “0”.
The next step is to fit the run up so the dial indicator is at “0” to match the tang bottom. As you can see below, I need to grind off approximately .015 to bring the indicator to “0”. Remember, keep in mind that you need to leave a bit of room the finish.
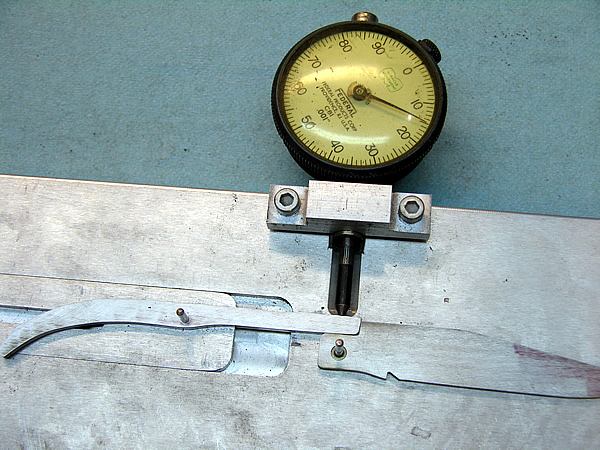
The back square has been filed and finished to 600 grit to the point where the indicator is now at “0”. It may look like it’s a few thousandth’s off but it’s just the angle of the photo.
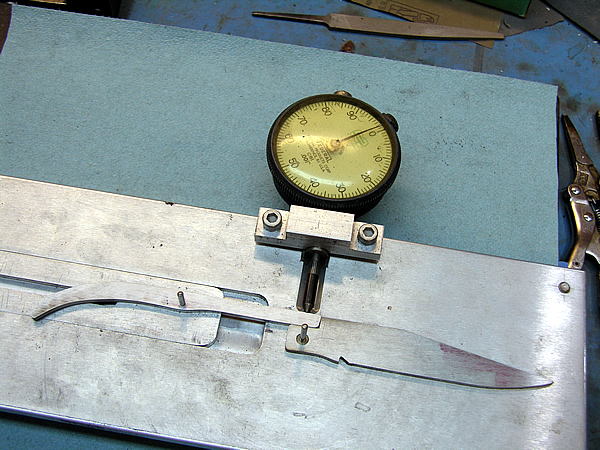
Final step is to grind and finish the half stop to once again bring the indicator to “0”. Once again, due to the angle of the photo, it looks like it’s a few thousandth’s off. I can assure you, it’s at “0”.
At this point, you should be able to rotate your blade into any of the three positions and have the indicator show “0”.