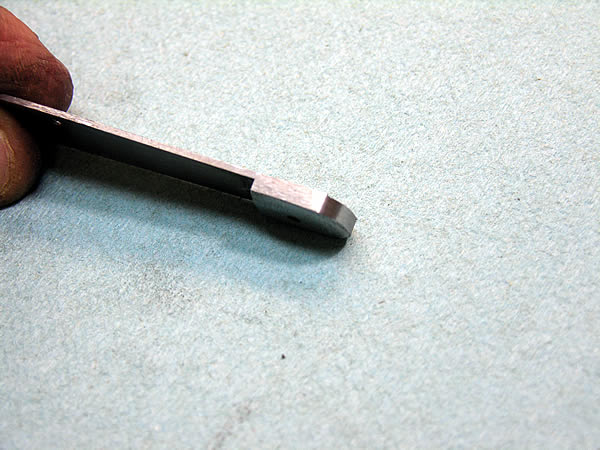
This is a different knife than the WIP knife but it’s all the same.
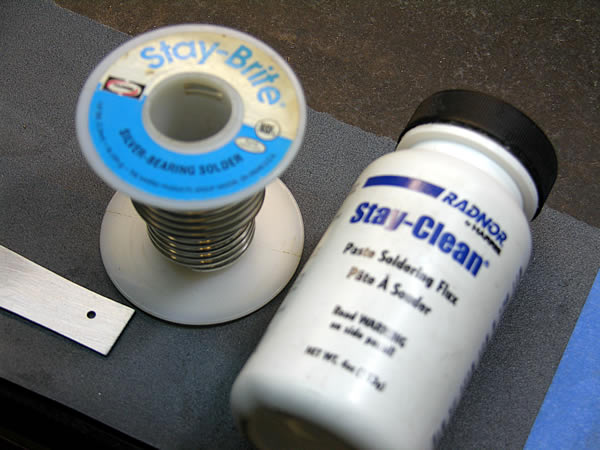
The products I use are Stay Brite Solder and
Stay Clean paste flux.
Make sure the surfaces you are going to be
soldering are clean and scruffed up a bit to help the solder adhere.
You can see here that I added a pencil line where I do not want the
solder to stick. Apply a thin coat of paste flux to the liner.
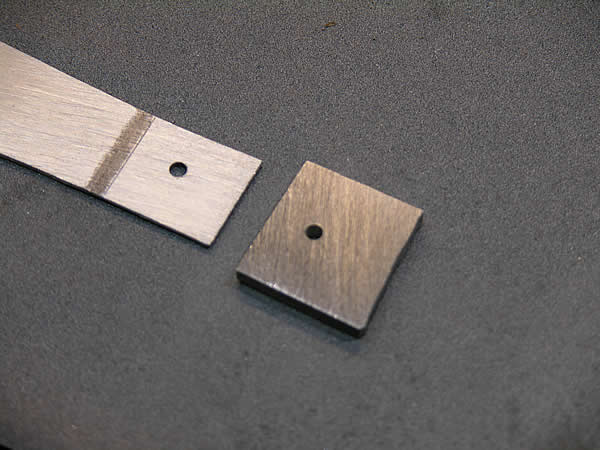
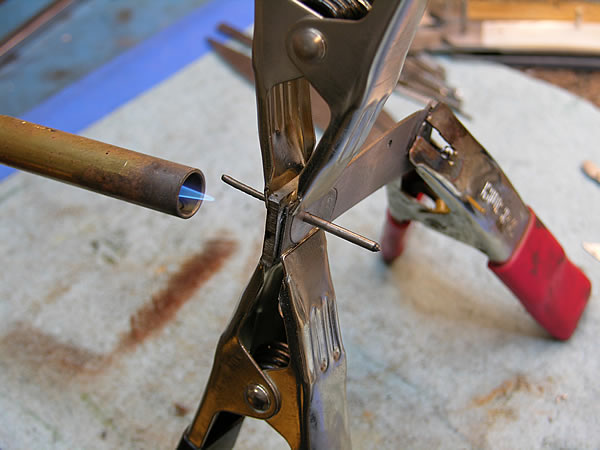
I take a small coil of solder and place it on
the liner. you will see a small piece of pin stock in this photo.
It’s 1/8 nickel silver and about 6 inches long. More on the pin
stock further on down.
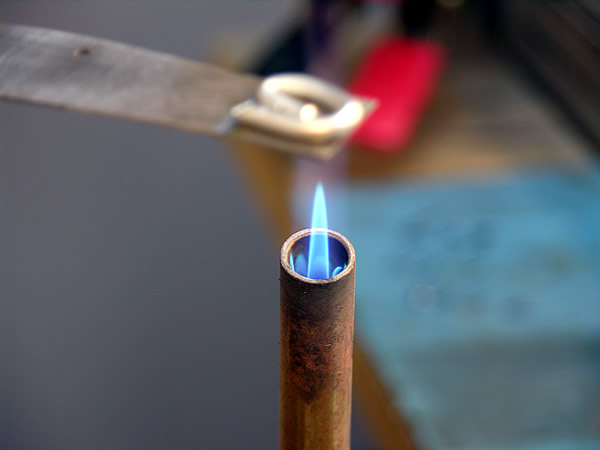
Here is where most people have problems. Applying heat. If you overheat the liner and burn the flux, it will NOT STICK.
Place the liner with the coil of solder over the flame. Once the flux begins to bubble, remove it from the heat. The solder will not melt at this point. The tricky part is applying the heat in small increments. Put the liner into the flame for a second or two and remove it again. You may have to do this a few times to get the solder to melt. You must bring the heat up slowly just to the melting point or you will burn it and have to start over again.
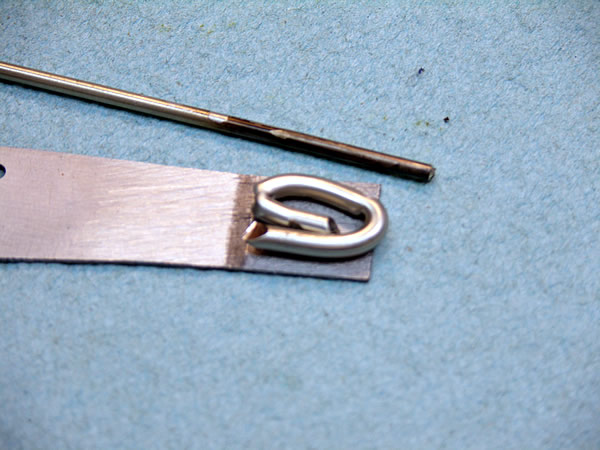
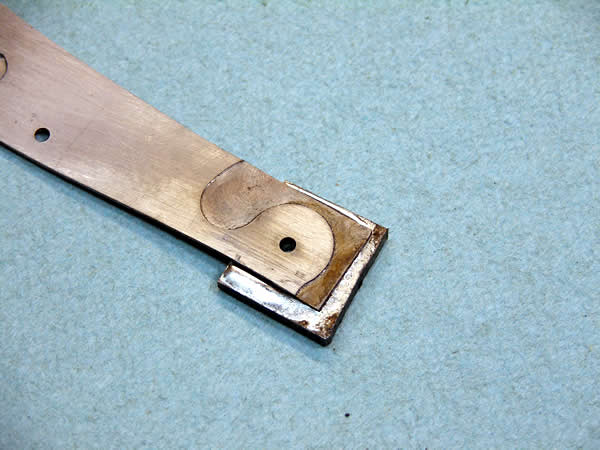
This is what you will end up with.
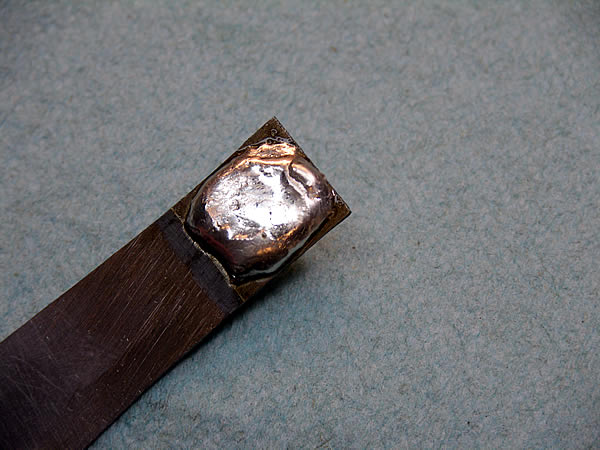
While the solder is fluid, take the piece of pin stock (in the 3rd photo) and move the pool of solder around until it covers the entire area. Once the area is fully covered with solder, you can either use the pin stock to wipe away the excess or just flick the solder off the liner with a quick wrist motion. You will end up with a liner looking something like this.
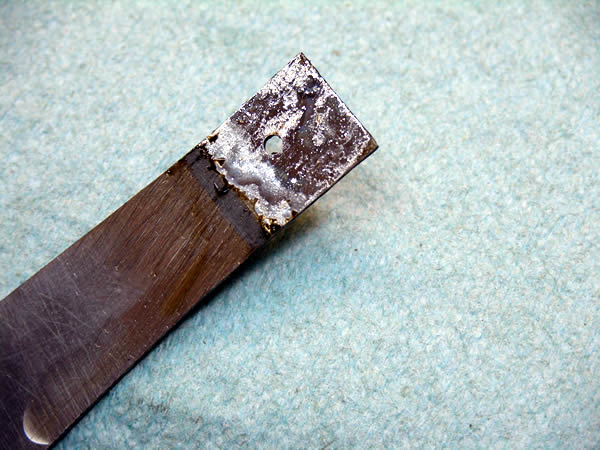
Now that you have the liner tinned, repeat all the steps for the bolster.
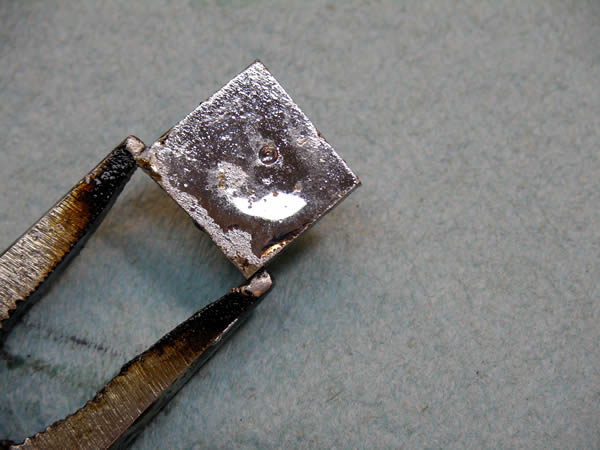
Once everything has cooled, it’s time to put them together. I use the pivot pin to help align the parts to be joined. Line the bolster into it’s correct position on the liner and clamp it down with 2 clamps. Yes…2 Clamps! You want pressure on both sides of the bolster/liner. I make kind of a tripod with another clamp to make this part easier to do. Apply heat SLOWLY to the bolster side only until the solder becomes fluid. Remove heat immediately.
This is what you have. You can see that the solder flowed out from between the liner and bolster. This is a good thing.
Now you can grind and shape your bolsters and say……..Look Ma! No seams!!