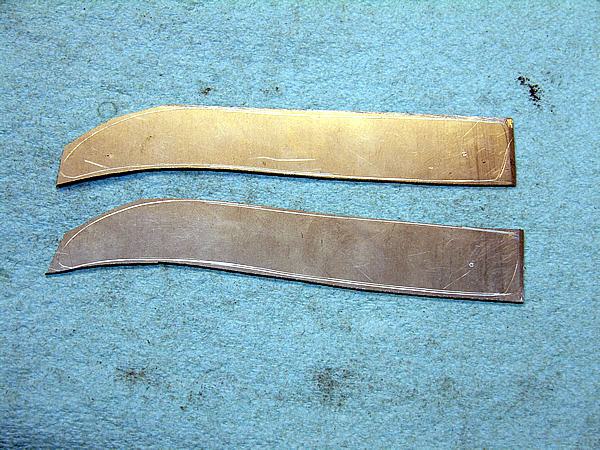
Now that you have the blade and spring fit together, it’s time to make the liners
For the liners, I am using .040 410 Stainless. Trace your pattern on the liner material and cut the basic shape on the bandsaw.
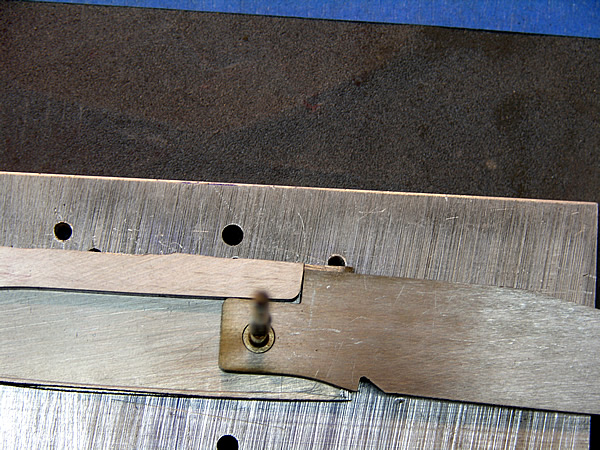
Until I have all the holes drilled in the liners, I superglue them together to make sure the holes are lined up perfectly.

After the liners are glued securely together, I mark the pivot hole with a punch, drill and ream to size.
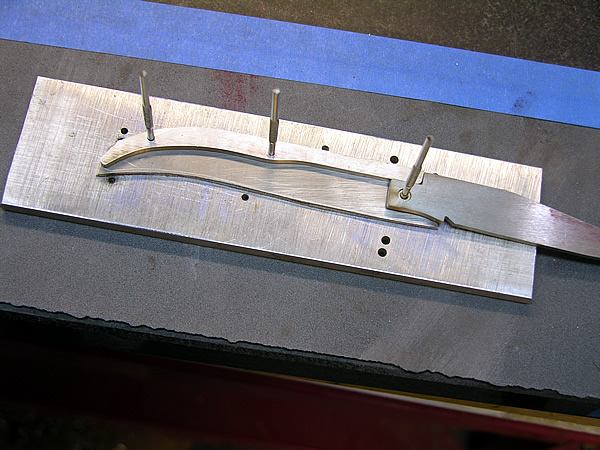
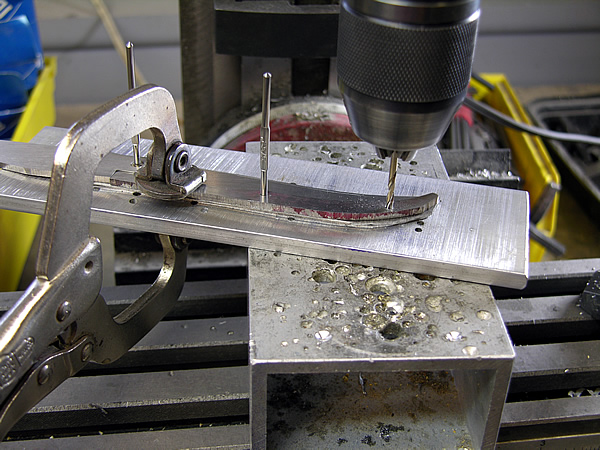
To help in locating all the holes in the liners, some people use a block of wood to mount everything to make it easier to work with. I bought some aluminum bar from a scrap dealer and use that instead of wood.
Drill a hole the same size as your pivot pin in the aluminum or wood block and mount the liners and blade to it. At this point, there is only one hole for the pivot drilled into the liners. Lay your spring into the correct position and clamp into place. Using a transfer punch, mark the liner for the springs center hole. Drill and ream the hole to size.
Now you have the liners, blade and spring mounted to your block. Once again, position the spring against the blade and drill the back hole on your spring. I usually drill through the spring, liners and the block all at once.
Now you have all your holes drilled and the entire assembly mounted to the block with pins.
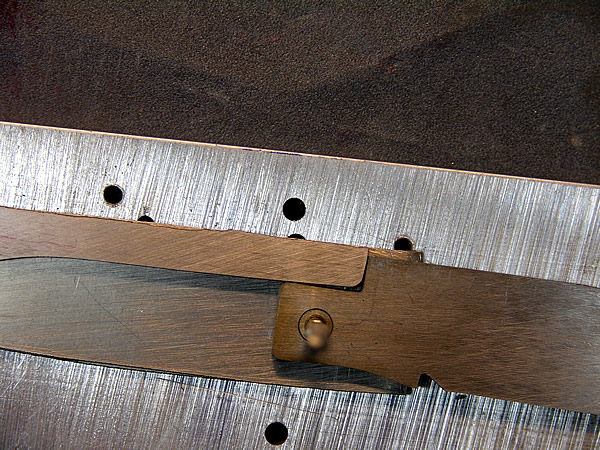
If you remove one of the spring pins, you can rotate your blade around and check the fit one more time. You want to remove one of the pins as the spring is not yet heat treated and will simply bend if you keep all the pins in place