Milling a relief area in the liners allows the blade to rotate without scraping the sides of the liners and leaving ugly scratches on the blade tang. The goal here is to mill out a area that will act as a washer, and an area the same size as the tang.
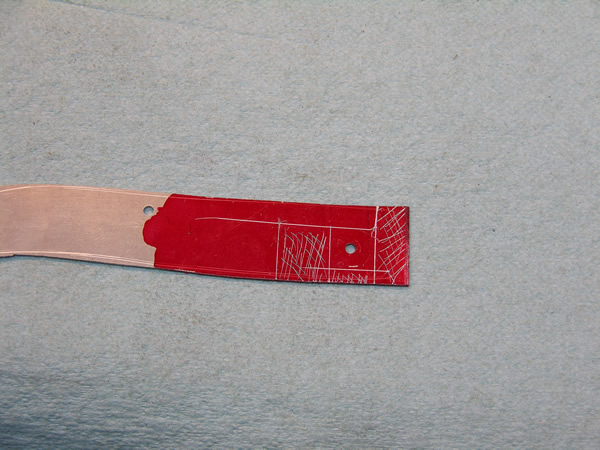
You want the milled area to start right at the end of the spring. Mount your liner and spring on your block and put a pin in the center hole of the spring. Position your spring on the liner where it will be for the final assembly. Trace around the spring as shown below.
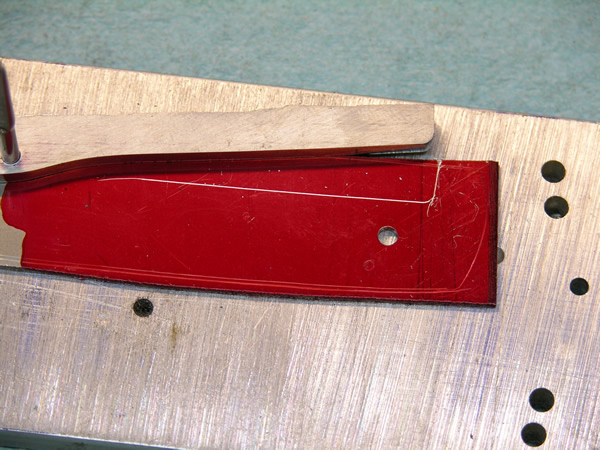
Now draw a straight line from the top of the spring down to the bottom of the liner. All of the area in the front of this line (hash marks) will be relieved.
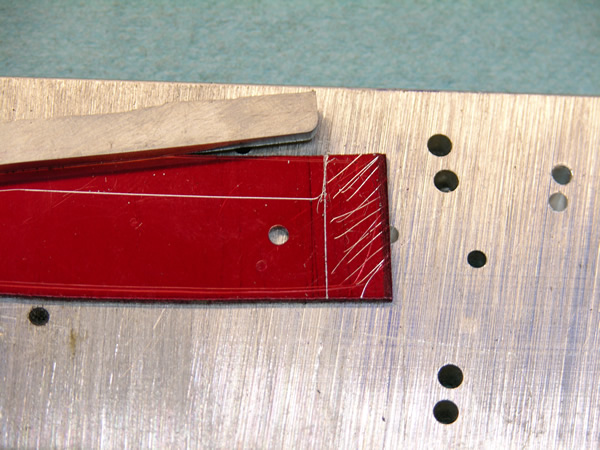
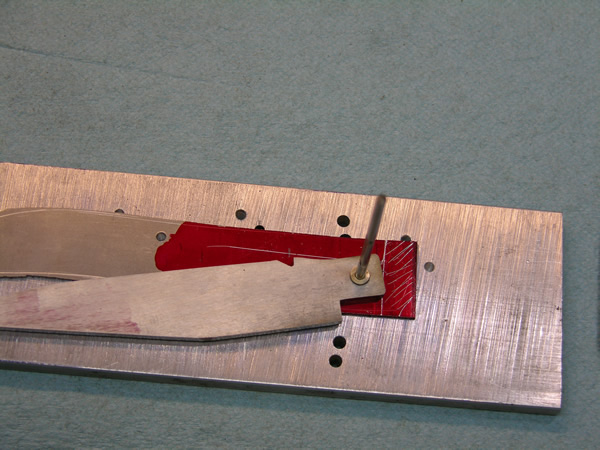
Now pin your blade to the block and liner. Rotate your blade to the position it will be in when fully closed. Make a small mark just in front of the end of the “Kick”.
Draw a line from the small mark you just made down to the bottom of the liner.
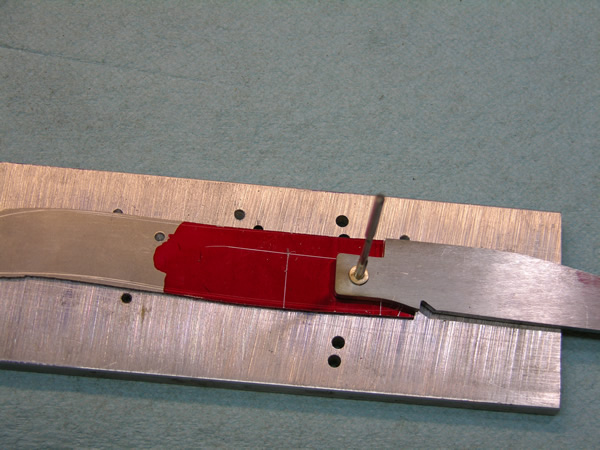
Draw two symmetrical lines around the pivot area to mark out an area that will act as a washer. The area with hash marks will all be relieved.
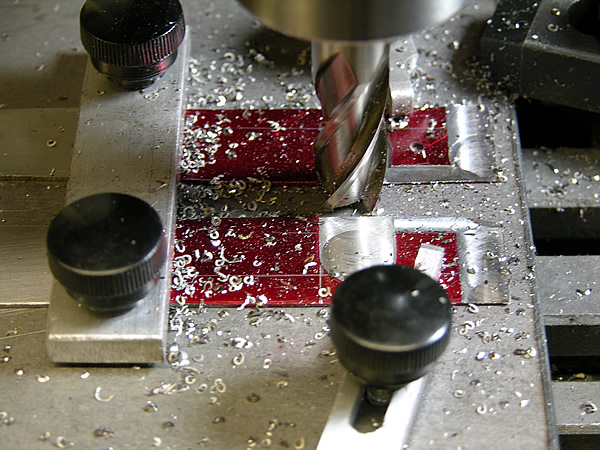
The reliefs are cut into the liners with a mill. In my case, a mini-mill. I made a simple fixture to hold both liners so they can be milled at the same time. I found this method to be easier and faster with less setup. I don’t think that the relief either being round or square around the pivot makes much of a difference. Tony Bose makes a round relief, Gene Shadley uses a square relief. I am in no position to argue the point with either of those guys.
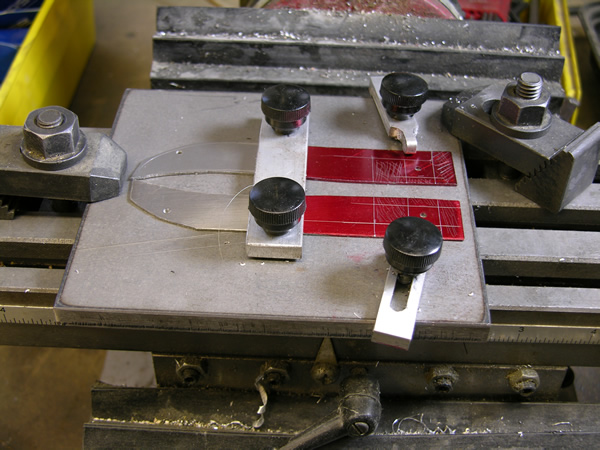
The reliefs are cut with the mill to the lines scribed on the liners. I cut the reliefs around .010 to .015. Once the liners are relief cut, sand off all the burrs using your favorite sandpaper mounted on a flat surface such as a piece of glass or a surface plate.