The handles have been roughed out on the grinder

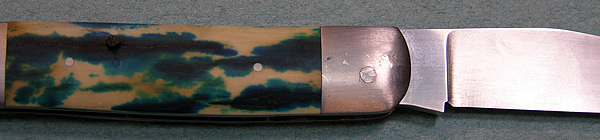
Another test fit

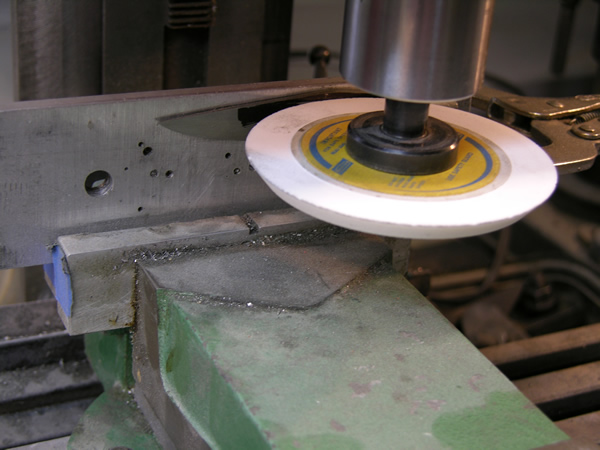
The blade has been hollow ground with a 10″ wheel. Here I am adding the nail nick with a grinding stone mounted in my mini mill. The angle on the grinding wheel was cut using an adjustable angle wheel dresser.
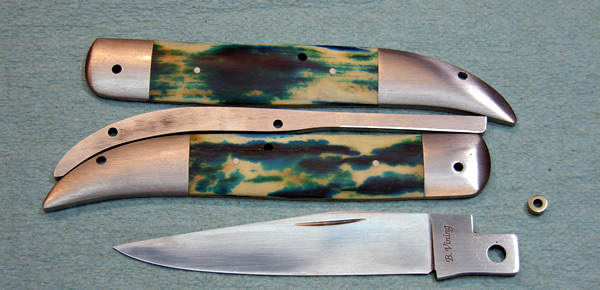
Ready for assembly. The handles have all been finished on the slack belt to this point.
The pins I use are 416SS to blend in with the bolsters once finished. The holes in the bolsters have been reamed with a 2degree reamer held in a pin vice. This will allow for the expansion of the pin when peened. The pins are spun on my drill press and polished with sandpaper to get a nice clean finish. They are then cut so that approximately 3/64ths are sticking out on each side. The ends have a slight chamfer to them as well. The trick here is to make sure everything is clean so the pin blends perfectly with the bolsters after peening. To peen the pins, I use a 2oz. ball pein hammer with both faces highly polished.
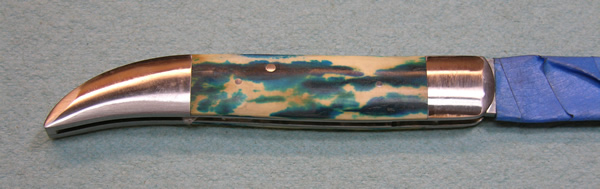
The knife is now assembled. Everything is cleaned up on the slack belt ready for final finish. For this knife, the mammoth has been highly polished and the bolsters have a 600 grit finish.
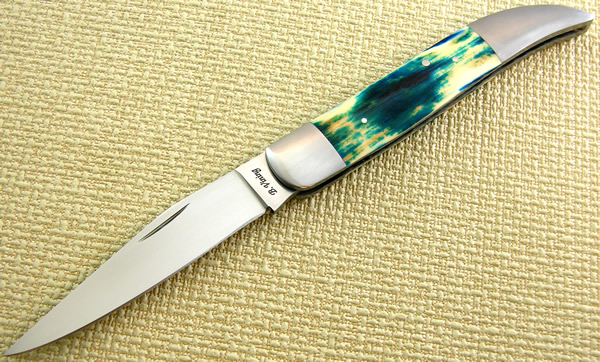
All done and ready for customer pick up!!